Immediately after completing my first pair of Liana jeans
Liana Stretch Jeans (
affiliate link) I cut out a second pair. This time I used a black Cone Mills denim that Fabric Mart briefly had in stock in March. It was a 62" wide denim, so I used less than two yards of it. It's a stretch denim, but it's not the S-Gene that everyone raves over. It's also a bit lighter weight than I had thought it would be. The recovery is excellent, though.
This time, before cutting, I altered the pattern by taking out 1/2" of length from the back inseam to fix some of the excess fabric I had back there in my first pair. Easing the front inseam into the back helps the back of the jeans hug the thigh, and it definitely worked on this pair.
 |
| Add caption |
There is a little bit of ease in the front inseam as drafted, but the difference wasn't enough for me. I was easing quite a lot of - probably a whole inch - of front inseam into back inseam, but it seems to have worked. Here is a side-by-side comparison of Liana #1 (left, see original blog post
here) and Liana #2.
After my baste-fitting, I took in the outseam 1/4" at through the hip and upper thigh, and again at the knee. I also took in 1/4" of inseam at the knee and lengthened the jeans 1". I sewed the jeans in about five hours, and when I put them on ... whomp whomp ... they were too tight in the waist.
I decided to wear them anyway, hoping they'd bag out a bit with wear. This strategy ended with my jeans button popping off while I was wearing them. Fortunately, that happened in the car when I was on my way home. Also, it turned out that I had done a pretty shoddy job of installing the button and it needed to be redone anyway.
 |
| Don't mind my face; I was squinting. |
So I took off the waistband, let the side seams out as far as they would go from the hips to the waistband, cut a new waistband and sewed it on. The waist of these jeans is still a bit too tight, though it no longer gives me a muffin-top. It fits well in the morning, but starts to strain as soon as I eat anything. I'd worn the jeans for two days before taking these photos and they have only bagged out a tiny bit.
I found the fly shield to be a bit on the wide side in my first pair of Lianas. This time I used a larger seam allowance (I think it was about 3/4" instead of 1/2") to sew it on for this pair, and I think the width is better like this. Below you can see the fly shield difference - Liana 1 is on the right and Liana 2 on the left.
The only metal zipper I had on hand was a hand-me-down from my grandmother's stash. The zipper appeared to have been salvaged from another garment.
I found the fly construction easy and fast this time around (I had a little bit of difficulty wrapping my head around it on my first pair).
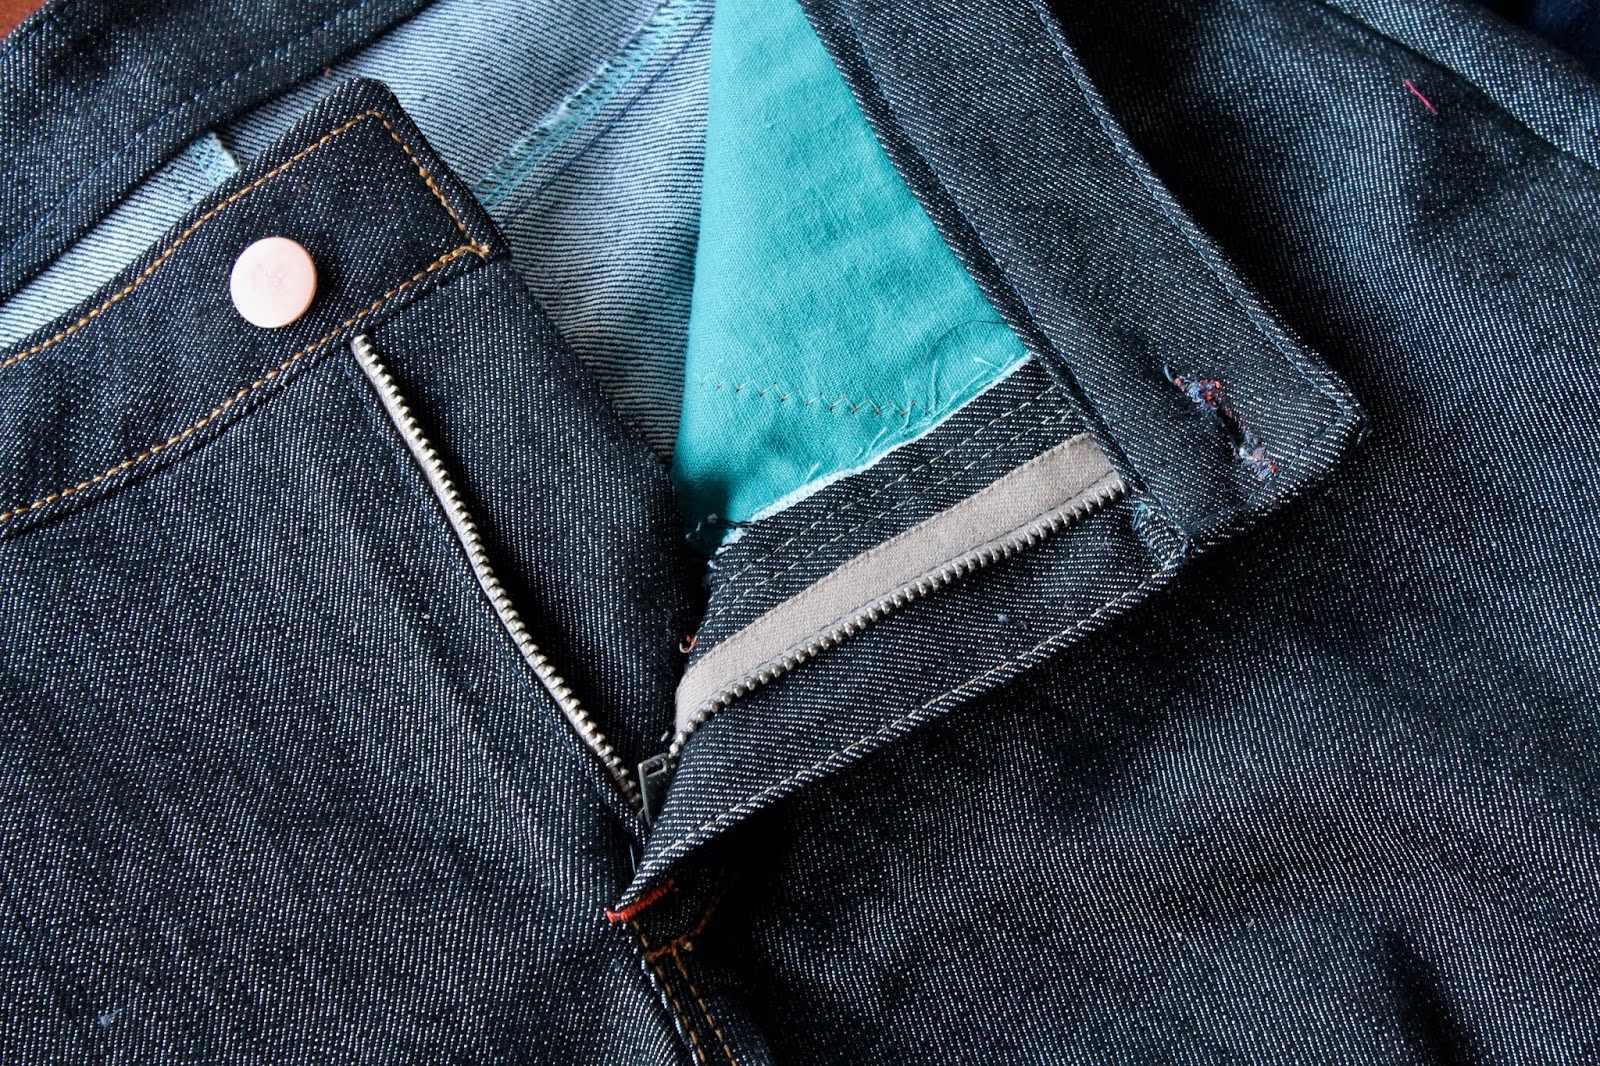
The pattern does not instruct you to finish the raw edge on the left fly (as worn). It is sewn down with a double line of stitching from when you topstitch the fly, but I still don't like the raw edge. It has taken me two tries making this pattern to figure out that I need to finish that edge, and to determine when that needs to happen; so I will make the change on my next pair. You can see the raw edge in the photo below, next to the teal pocket stay. I somehow missed the instructions that tell you to finish the raw edge on the left fly both times I sewed this pattern - but they are in there.
I like these jeans a lot, except for one small problem: the zipper keeps falling down. I think that maybe this is because my button is not installed exactly in the right spot; you can see how the fly buckles a little because the button needs to be higher. Or maybe the zipper is falling down because the waistband could use a touch more ease. Or maybe because it's old. I've had to attach a metal key ring to the zipper, and hook it over the button before buttoning it, to keep the zipper up.
Looking forward to sewing more Lianas this fall.
As always, thanks for reading, and see you next time!


These are cute! Congratulations! It seems like sewing your own jeans is a journey...
ReplyDeleteYes, I'd say that's an accurate descriptor!
Deletewell they look great despite the fit issues. I always have trouble with the jeans buttons, can never seem to get them on straight!
ReplyDeleteThank you! If you have trouble I don't know that I have a chance at getting them right!!!
DeleteYour zipper solution is genius! I would be interested in where and how you plan to finish that right fly edge next time if I ever make this pattern! Good work!
ReplyDeleteTurns out the instructions were there in the pattern all along ... d'oh. Somehow I missed them twice! The zipper/key chain thing I can't take credit for - found it by Googling "how to keep my zipper up!"
DeleteI haven't made these, but good to know about the fly edge. Thanks for the tip!
ReplyDeleteThese are still totally YOUR JEANS. The fit is so good! Minor tweaks and you are there!
ReplyDeleteThanks! I am definitely planning to sew more this fall.
Delete