At the beginning of March, I sewed a couple of duck cloth tote bags for my brother-in-law. He's developing a lawn game and needed some prototype bags custom-made to fit the parts to the game. It took very little time to sew up two of the bags you see in the next photo.
I referenced quite a few tutorials as I went along, but I couldn't tell you which ones. I know I read this Sew Sweetness bag interfacing post at least three times. The Shape Flex interfacing she recommends was the only item I purchased to make this bag; everything else was from my stash, including a mystery, stiffer fusible interfacing that I used on the exterior panels and the zipper. I used some stretch denim left over from my second Ginger jeans for the straps, bottom, interior pockets and hem facing, and some linen/rayon for the lining.
I'm really pleased with the finished product, and am particularly glad that I decided to take the time to sew the recessed zipper. The zipper just takes the bag to the next level. And I also get a kick out of the way the zipper saws the matryoshka dolls in half and then puts them back together.
On the minus side, my choice of interfacing means that the bag isn't as structured as I would like. But it's still perfectly useable. And though it turned out a touch bigger than I was going for, it is a great size for an airplane carry-on, pool bag or library bag. I ended up giving it to my sister when she admired it, so I guess I will have to sew myself another one sometime in the future.
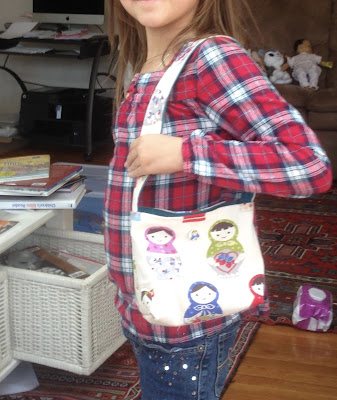
After I sewed this bag, my girls and I had an impromptu sewing day in which they claimed the leftovers of the matryoshka dolls for themselves. Natasha cut out the dolls, traced the shape on felt, and then sewed the felt backing on to make little dolls. Zoia wanted to make a purse. We used this tutorial for hers (I cut the pieces and she did all the sewing) and it turned out so cute! It's definitely a good beginning pattern for a new little seamstress.
I'm glad to have finally used this fabric. Though I think next time I sew a bag, I'd like to have a pattern to work from. It would eliminate some of the guesswork of figuring out what to do next.
As always, thanks for reading and see you next time!


That’s a beautiful tote bag. It’s hard to get all of those construction steps sorted without help, great job!
ReplyDeleteBeautiful tote bag!
ReplyDeleteand wow! you have a young sewing in the making!