
I should start by noting that this all started quite on a whim. A true flight of fancy. And as they are prone to do, this particular fancy has already flown. But I thought someone might be interested in reading about my experience dipping my toe into the world of pattern drafting, so here we are.
This post contains affiliate links, all of which are clearly marked where they appear. If you click on a link and buy something I may make a small commission.
I really have never been interested in learning to draft sewing patterns in the past - even attempting to hack a pattern stresses me out. I need structure - and instruction - in my sewing.
I'm not sure what changed, but last month, I found myself with a ruler and a pencil, sketching out a t-shirt pattern draft. It all started when Creativebug (affiliate link) was running its free week promotion. I perused the offerings and was intrigued by Cal Patch's t-shirt drafting course (affiliate link). So I sat down to watch it.
It was very enjoyable. Cal has a very soothing presence. I felt like I was hanging out with a very calm and kind friend who was also able to explain in simple terms how to draft a t-shirt pattern. I really enjoyed the process of taking measurements, then using them to turn a number of straight lines into pattern pieces for a three-dimensional body. It's a fun exercise, though I knew, when I was done, that I wasn't going to sew up the pattern as is. The method taught in the class produces a t-shirt where the front and the back pieces are the same except for the neckline.

That might work for some, (and is probably perfect if you're drafting a kids' t-shirt) but I knew it was not going to work on this body. So I made some adjustments to her basic method to make room for the bust. I am the farthest thing from a pattern drafting expert. I did not consult any book or tutorial for this - I just drew on my years of experience sewing for an ample bosom and my knowledge of full bust adjustment (FBA) techniques.

The course also has you draft a symmetrical sleeve, which theoretically works with the pattern when front and back are the same. But after I adjusted my front and back pieces, I needed to fiddle with the pattern piece to make sure the lengths of the front and back sleeve matched the front and back armscye. There might be an official way to do this, but as I do not know what it is, I just kept drawing, measuring, redrawing and measuring the curves until the measurements matched. I know what the front and back of an asymmetrical sleeve should look like, roughly, so that helped inform my process.
The resulting shirt fits in the shoulders, in the bust and in the waist and hip, but there is still something funky going on in the armpit - which is an area that I often struggle to fit. I think it might be as easy as scooping out the armpit on the bodice side, which then may result in my needing to readjust the sleeve piece. I might go back to this in the future, but for now I've put my pattern pieces away.
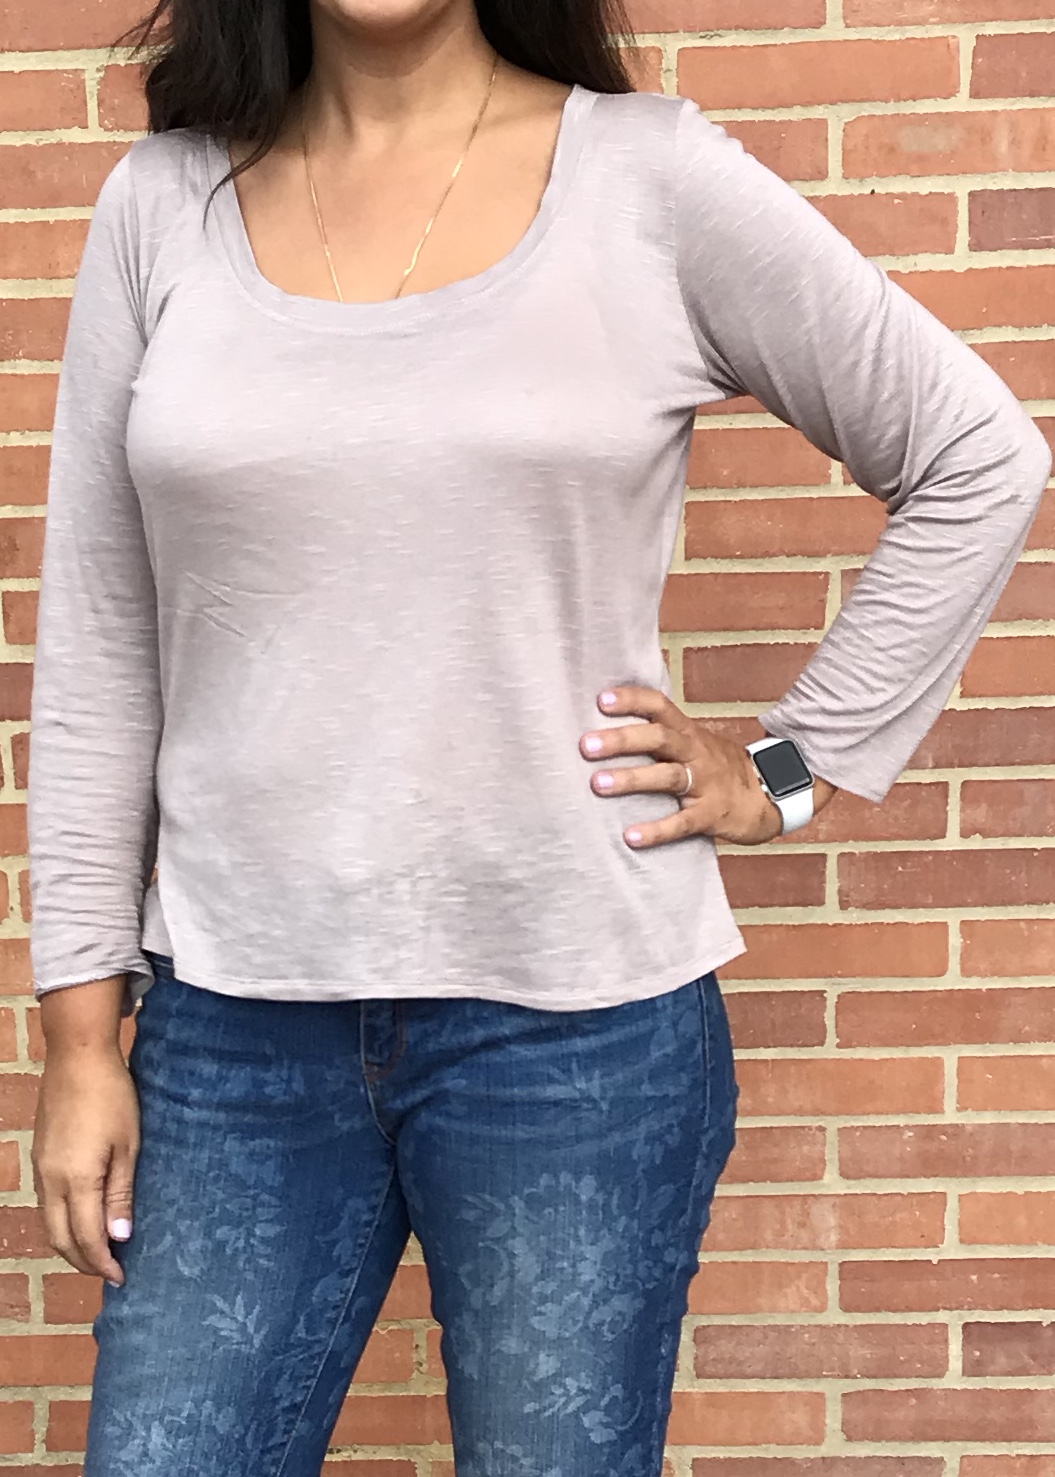
I made four tees from this pattern. The three that are pictured here are successes; the fourth was an attempt at color-blocking that went awry. I sewed the gold shirt with a smaller seam allowance to get a slouchier fit. The orange shirt is made of a ribbed sweater knit. I added a contrasting neck band and hem and sleeve bands for a slightly retro vibe. It's my favorite of the three, but I got a giant grease splotch on it a day or two after I took these photos, and I haven't been able to get it out. I might add a pocket to cover it or something.
I don't think that I ended up with a fit that was dramatically different from, say, my Plantain pattern. But, going through the process of learning to draft a t-shirt pattern and then altering it to better fit me, has actually given me a lot of insight into how to adjust commercial patterns to fit. It was a valuable exercise, and I recommend trying it out just for this reason. Creativebug (affiliate link) is no longer free to watch, but you can try it for $1 for the first month if you are curious. I also watched Cal's class on drafting wide leg pants during free week, and drafted a pattern which I have yet to sew up. I plan to return to that project soon, and will post about it after I do.
As always, thanks for reading, and see you next time!

This looks like such a great pattern to be made over and over.
ReplyDeleteIt looks really good in the red fabric! Sounds like an interesting learning experience. Learning to sew is a never ending process - and everything you pick up helps a bit, and in the aggregate, you find yourself knowing quite a lot.
ReplyDelete